Contents
Installation Guide
Welcome to the Qubes OS installation guide! This guide will walk you through the process of installing Qubes. Please read it carefully and thoroughly, as it contains important information for ensuring that your Qubes OS installation is functional and secure.
Pre-installation
Hardware Requirements
Qubes OS has very specific system requirements. To ensure compatibility, we strongly recommend using Qubes-certified hardware. Other hardware may require you to perform significant troubleshooting. You may also find it helpful to consult the Hardware Compatibility List.
Even on supported hardware, you must ensure that IOMMU-based virtualization is activated in the BIOS. Without it, Qubes OS won’t be able to enforce isolation. For Intel-based boards, this setting is called Intel Virtualization for Directed I/O (Intel VT-d) and for AMD-based boards, it is called AMD I/O Virtualization Technology (or simply AMD-Vi). This parameter should be activated in your computer’s BIOS, alongside the standard Virtualization (Intel VT-x) and AMD Virtualization (AMD-V) extensions. This external guide made for Intel-based boards can help you figure out how to enter your BIOS to locate and activate those settings. If those settings are not nested under the Advanced tab, you might find them under the Security tab.
Downloading the ISO
See the downloads page for ISO downloads. Remember, Qubes OS’ team have absolutely no control over those servers, so you should consider that they might be compromised, or just be serving compromised ISOs because their operators decided so, for whatever reason. Always verify the digital signature on the downloaded ISO. Read our guide on verifying signatures for more information about how to download and verify our PGP keys and verify the downloaded ISO.
Copying the ISO onto the installation medium
Once the ISO has been verified as authentic, you should copy it onto the installation medium of your choice, such as a dual-layer DVD, a Blu-ray disc, or a USB key. (The size of each Qubes ISO is listed on the downloads page.) (Note that there are important security considerations to keep in mind when choosing an installation medium.)
If you choose to use a USB drive, copy the ISO onto the USB device, e.g. using dd:
$ sudo dd if=Qubes-R3-x86_64.iso of=/dev/sdX bs=1048576 && sync
Change Qubes-R3-x86_64.iso to the filename of the version you’re installing, and change /dev/sdX to the correct target device e.g., /dev/sdc).
Make sure to write to the entire device (e.g., /dev/sdc) rather than just a single partition (e.g., /dev/sdc1).
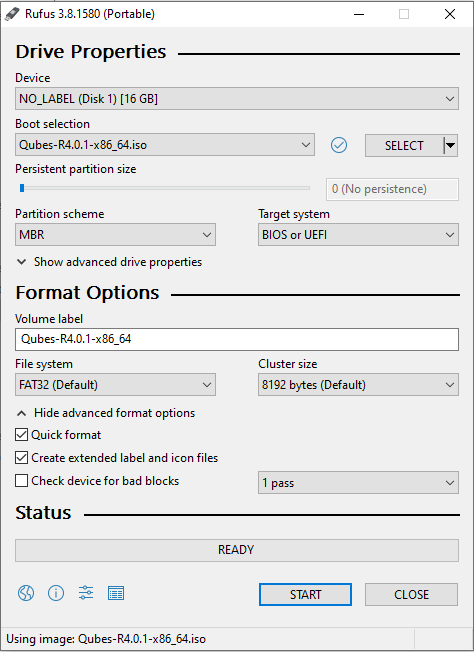
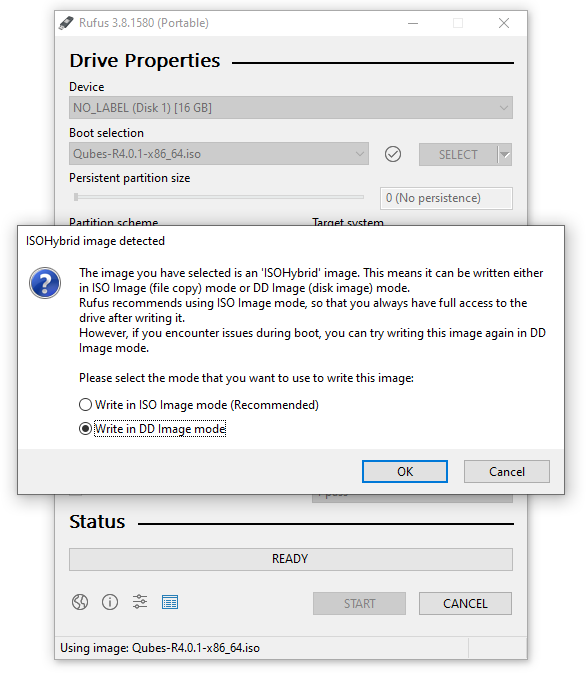
On Windows, you can use the Rufus tool to write the ISO to a USB key. MediaTest is not recommended. Be sure to select “DD image” mode (you need to do that after selecting the Qubes ISO):
If you are an advanced user and you would like to customize your installation, please see Custom Installation. Otherwise, follow the instructions below.
Installation
Getting to the boot screen
Just after you power on your machine, make the Qubes OS medium available to the computer by inserting the DVD or USB key you have previously copied the Qubes OS image to. Shortly after the Power-on self-test (POST) is completed, you should be greeted with the Qubes OS boot screen.
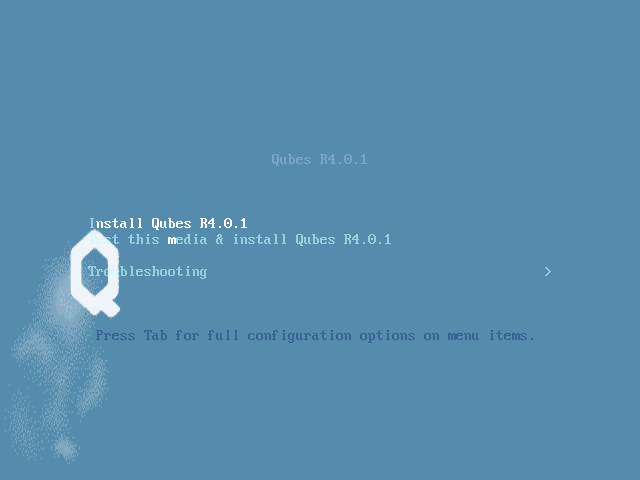
From there, you can navigate the boot screen using the arrow keys on your keyboard. Pressing the “Tab” key will reveal options. You can choose one of three options : install Qubes OS ; test this media and install Qubes OS ; troubleshooting. Select the option to test this media and install Qubes OS.
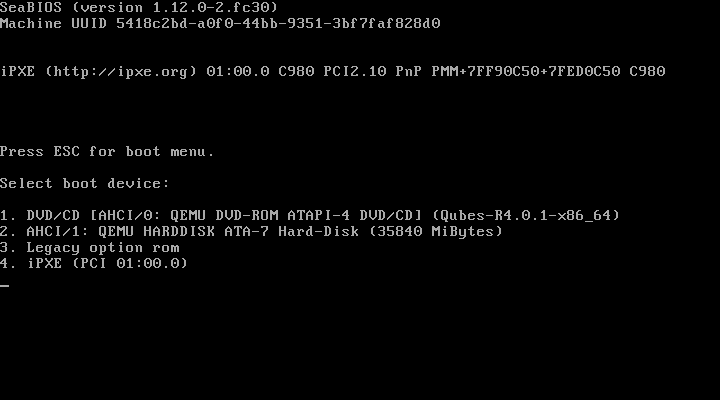
If the boot screen does not appear, there are several options to troubleshoot. First, try rebooting your computer. If it still loads your currently installed operating system or does not pick up your installation medium, make sure the boot order is set up appropriately. The process to change the boot order varies depending on the currently installed system and the motherboard manufacturer. If Windows 10 is installed on your machine, you may need to follow specific instructions to change the boot order. This may require an advanced reboot. Ideally, you would temporarily select the USB device or DVD drive as a boot up option, so that the next time you boot, your internal storage device will be selected first.
The installer home screen
On the first screen, you are asked to pick the language that will be used during the installation process. When you are done, select “Continue”.

Prior to the next screen, a compatibility test runs to check whether IOMMU-virtualization is active or not. If the test fails, a window will pop up.
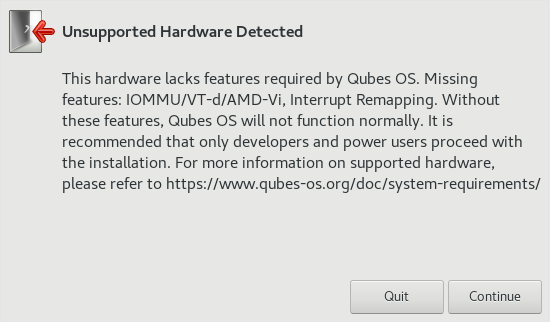
Do not panic : it may simply indicate that IOMMU-virtualization hasn’t been activated in the BIOS. Return to the Hardware Requirements section to learn how to activate it. If the setting is not configured correctly, it means that your hardware won’t be able to leverage some of Qubes OS security features such as a strict isolation of the network and USB adapter.
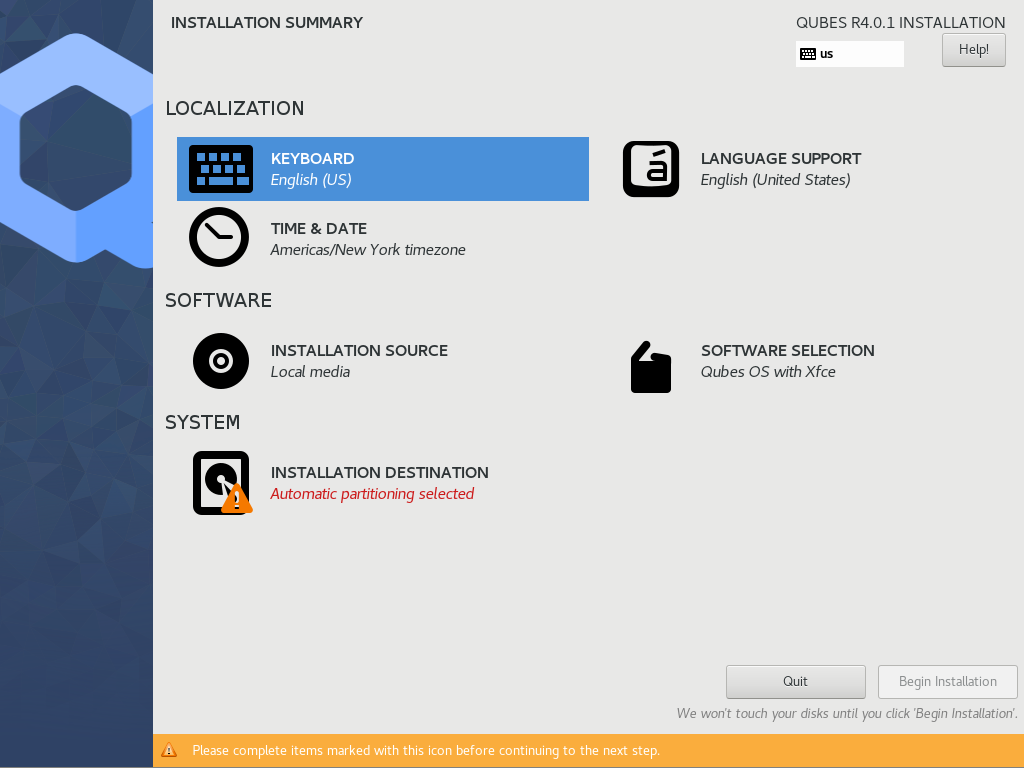
If the test passes, you will reach the Installation summary screen.
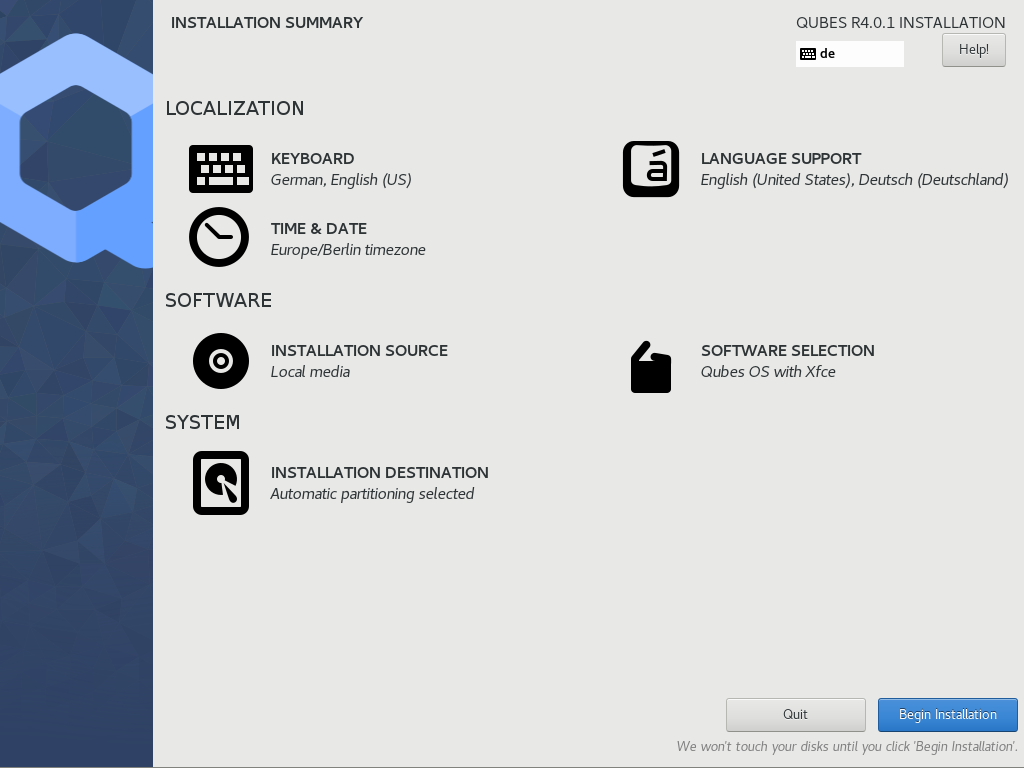
Installation summary
The Installation summary screen allows you to change how the end-system will be installed and configured, including localization settings. At minimum, you are required to pick a storage device on which Qubes OS will be installed.
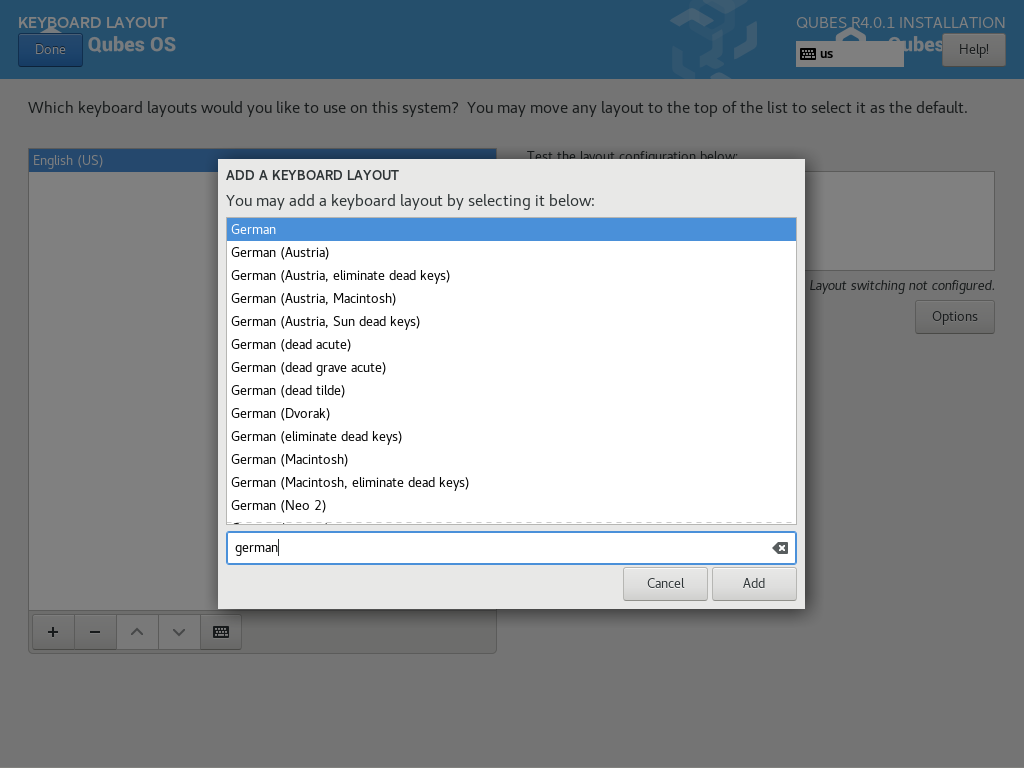
Localization
Let’s assume you wish to add a German keyboard layout. Go to Keyboard Layout, press the “Plus” symbol, search for “German” as indicated in the screenshot and press “Add”. If you want it be your default language, select the “German” entry in the list and press the arrow button. Click on “Done” in the upper left corner and you are ready to go !
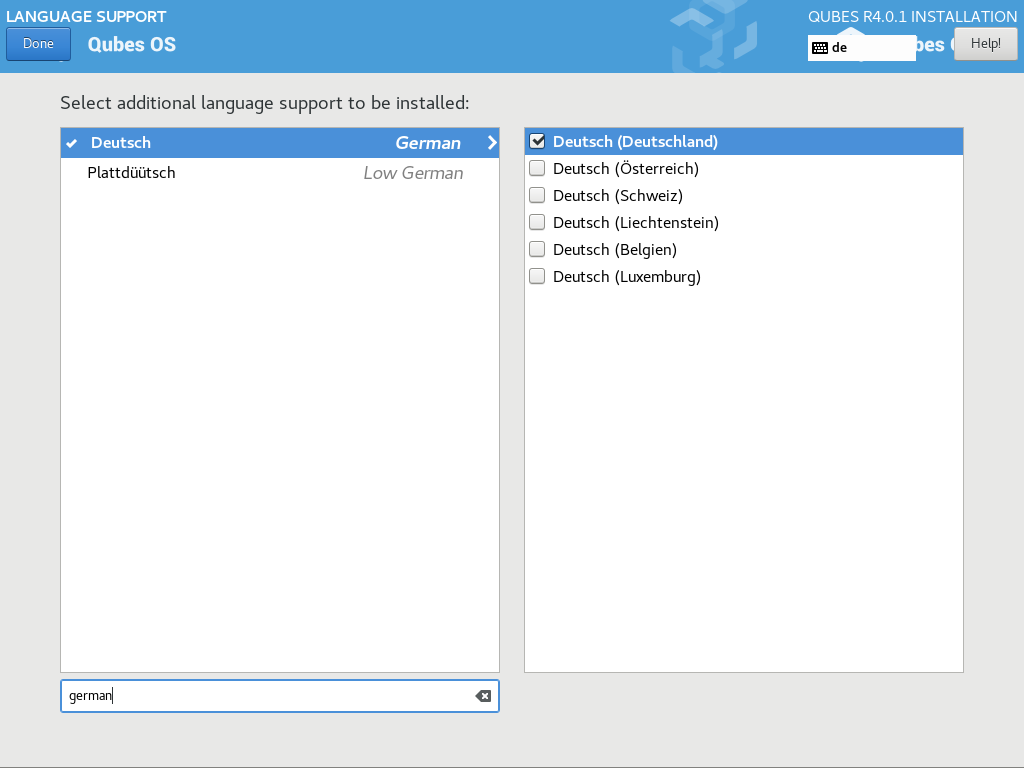
The process to select a new language is similar to the process to select a new keyboard layout. Follow the same process in the “Language Support” entry.
Don’t forget to select your time and date by clicking on the Time & Date entry.

Software
Under the Software section, you can change the installation source. As we are demonstrating a simple installation, it is assumed that you are installing Qubes OS using a local medium such as a DVD, so this option won’t be illustrated.
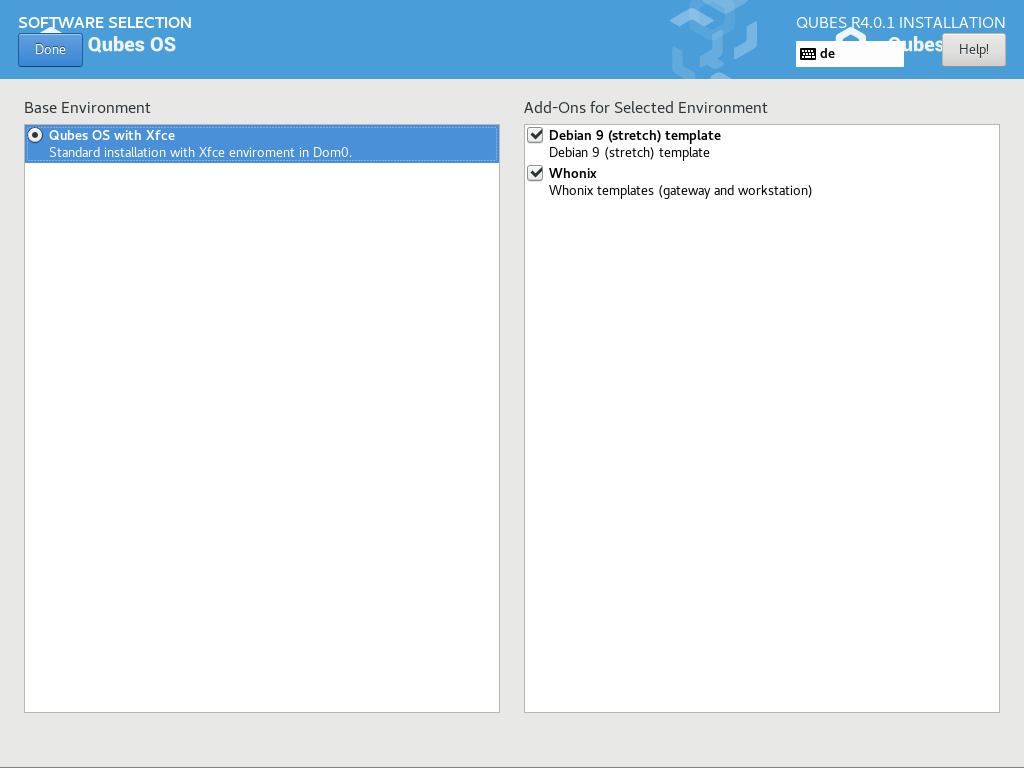
Go instead to the Software selection tab, where you can choose which software to install alongside Qubes OS. Two Add-Ons are available :
- Debian template : Install these templates if you wish to base some of your Qubes virtual machines on Debian instead of Fedora.
- Whonix : Install Whonix templates if you wish some of your qubes to be based on Whonix. Whonix let you route your entire network traffic trough Tor if you see fit. For more information about Whonix, have a look at their website. Depending on your threat model, you may need to install Whonix templates right away.
Note that you will also be able to install Add-Ons after the installation is completed. If you wish for your system to be more lightweight, do not hesitate to un-check those options.
Click on “Done” as soon as you have made your choice to go back to Installation summary screen.
Installation destination
Under the System section, you need to pick the installation destination. For this step to be completed, you need to select which storage device you would like your system to be installed on. Under the Device Selection section, make sure that you select the correct installation destination. Ensure that your your target destination has a least 32 GiB of free space available.
For this setup, options will be left unchanged. By default, Qubes OS will partition the system itself with LVM on top of LUKS encryption, and will claim the entire storage device.

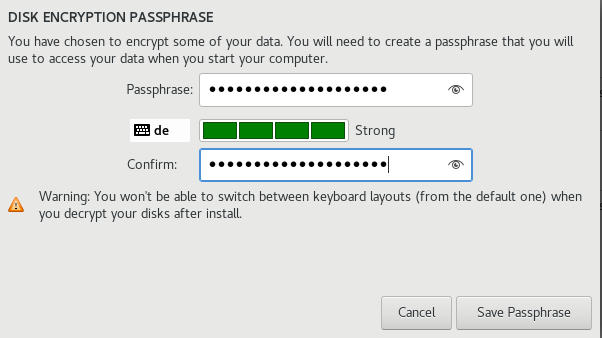
As soon as you leave the current window by pressing “Done”, Qubes OS will ask you to pick a passphrase to unlock encrypted partition. The passphrase should be complex. Keep it in a safe place. Make sure that your keyboard layout reflects what keyboard you are actually using and click on “Done” to start the installation process !
Installing an operating system onto a USB drive can be a convenient and secure method of ensuring that your data is protected and remains portable. If you want to install Qubes OS onto a USB drive, just select the USB device as the storage location for the OS. Be advised that a minimum storage of 32 GB is required and that a fast USB 3.0 compatible drive is mandatory to achieve decent performance. Also, bear in mind that the installation process is likely to take longer than an installation on a internal storage disk.
You are now ready to go. Press the “Begin Installation” button.
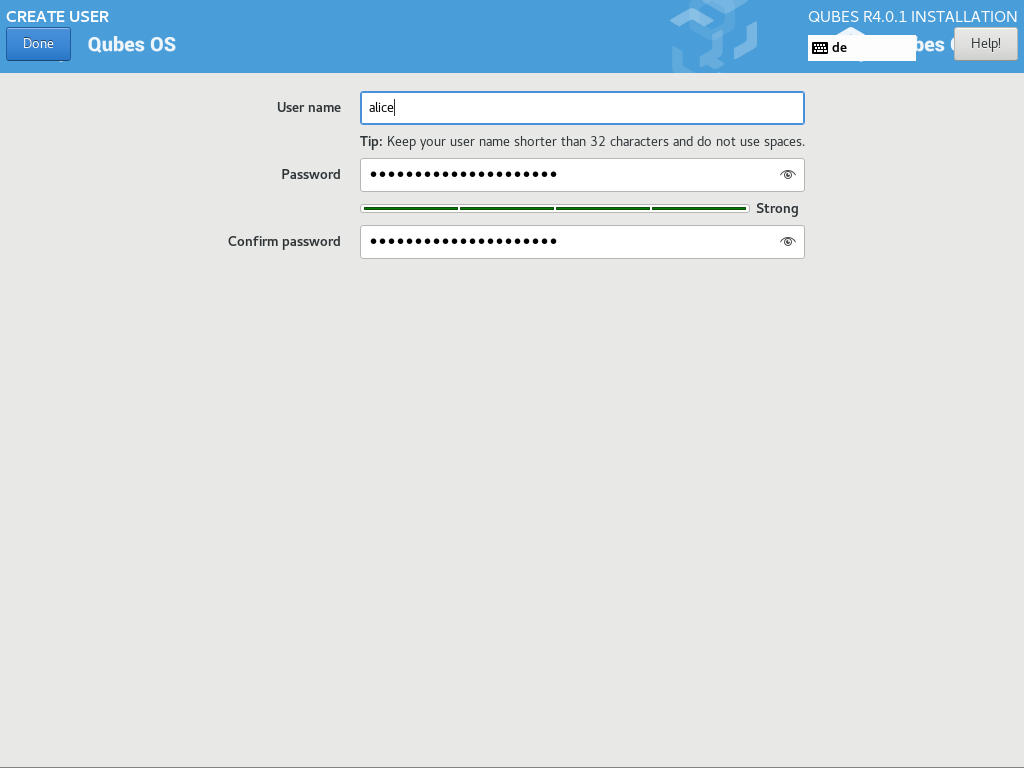
Pick your user name
While the installation is ongoing, a new user needs to be created. Click on “User Creation” to define a new user with administrator privileges and a password. Just as for the disk encryption, this password should be complex. The root account is deactivated and should remain as such.
When the installation is complete, click on the “Reboot” button. Don’t forget to remove the installation media, otherwise you may end up seeing the Qubes OS boot screen again.
Post-installation
First boot
If Qubes OS has been successfully installed, you should see the GRUB menu during the booting process.

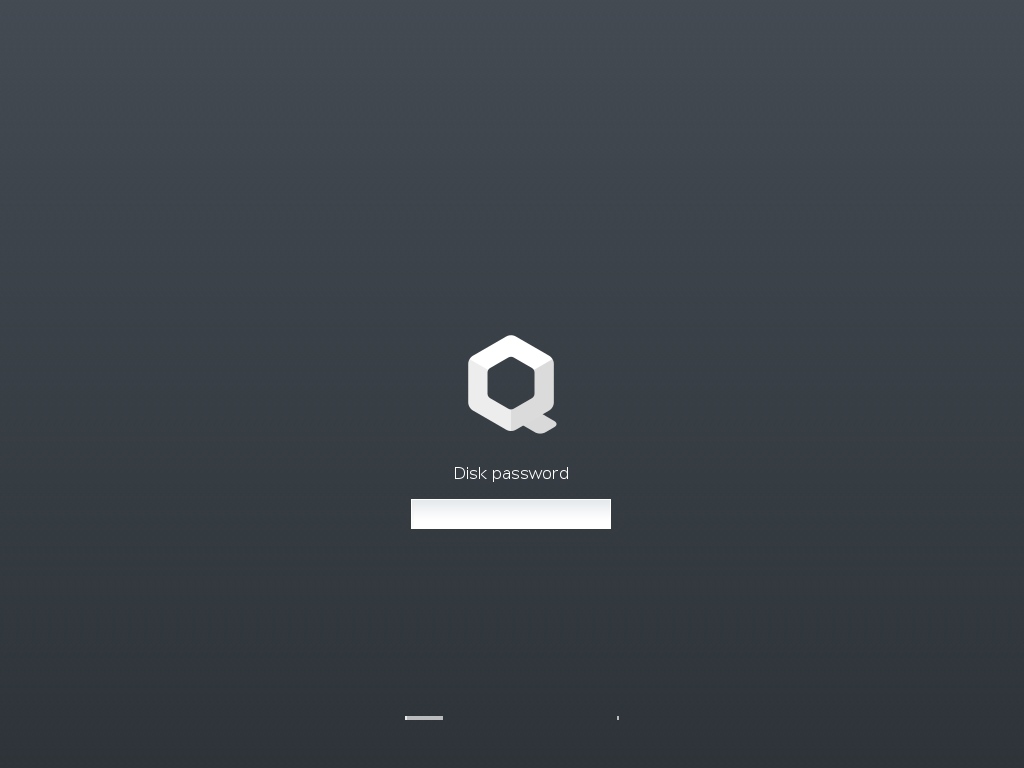
Just after this screen, you will be asked to unlock your storage device.
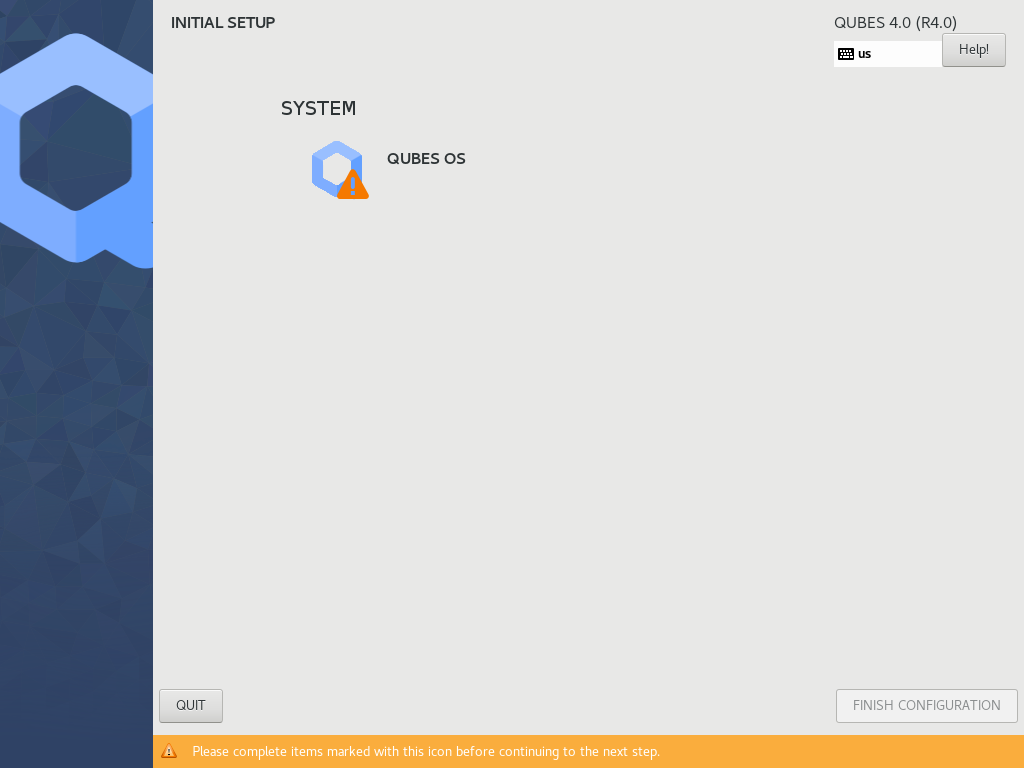
Initial Setup
You’re almost done. Before you can start using Qubes OS, some configuration is needed. By default, Qubes OS will create a number of qubes, based on Fedora templates or Whonix templates, so that you can have a more ready-to-use environnement from the get-go.
- Create default system qubes : it is recommended to use system qubes as they offer some of the core functionalities brought by Qubes OS, including network isolation and disposable qubes
- Create default application qubes : application qubes are pre-configured qubes meant to be used for specific purposes, such as work or personal.
- Create Whonix Gateway and Workstation qubes : in order to be able to use Tor for dedicated qubes, you need this option to be activated.
- Enabling system and template updates over the Tor anonymity network using Whonix : this option allows the use of Tor system-wide rather than only for specific qubes.
- Create USB qube holding all USB controllers : just like the network qube for the network stack, the USB qube allows to capture the USB controller and to manage USB devices through it.
- Use sys-net qube for both networking and USB devices : it saves some memory as only sys-net will be running, instead of sys-net and sys-usb, but also allows easy use of USB networking devices (like 3G/LTE modems) directly in sys-net.
- Do not configure anything : This is only for advanced users, as you won’t have network access out of the box.
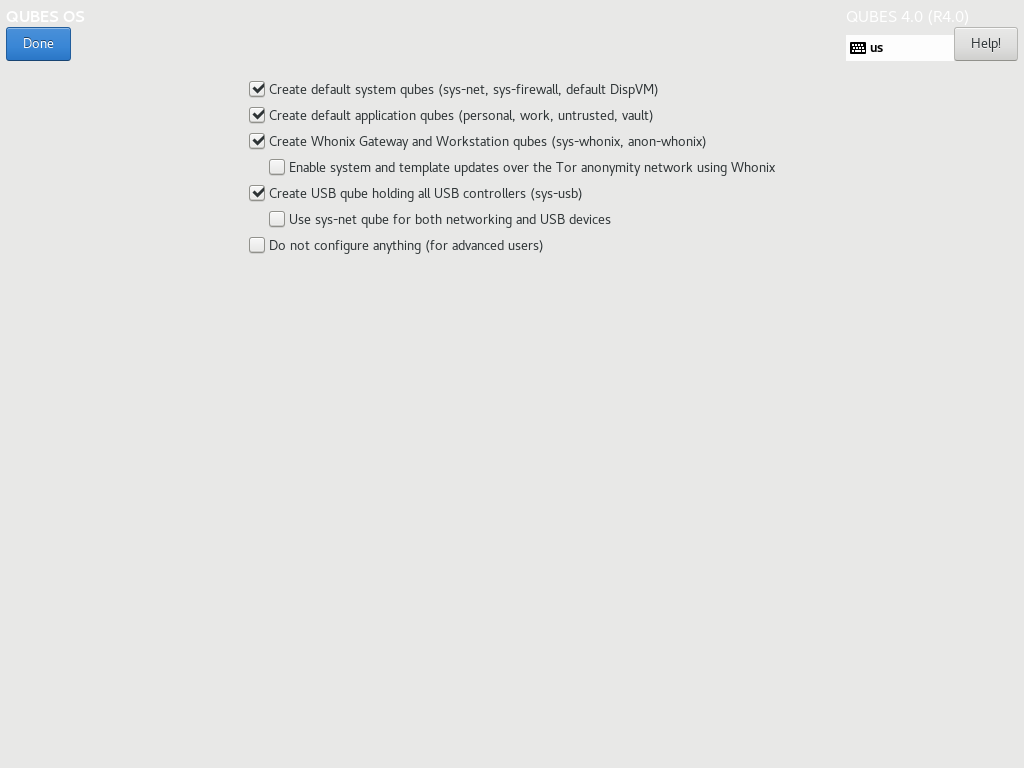
When you are satisfied with you choices, click on “Done”. Pre-selected qubes will be installed and configured, which can take up to 15 minutes.
After the configuration is done, you will be greeted by a login screen. Enter your password and log in.
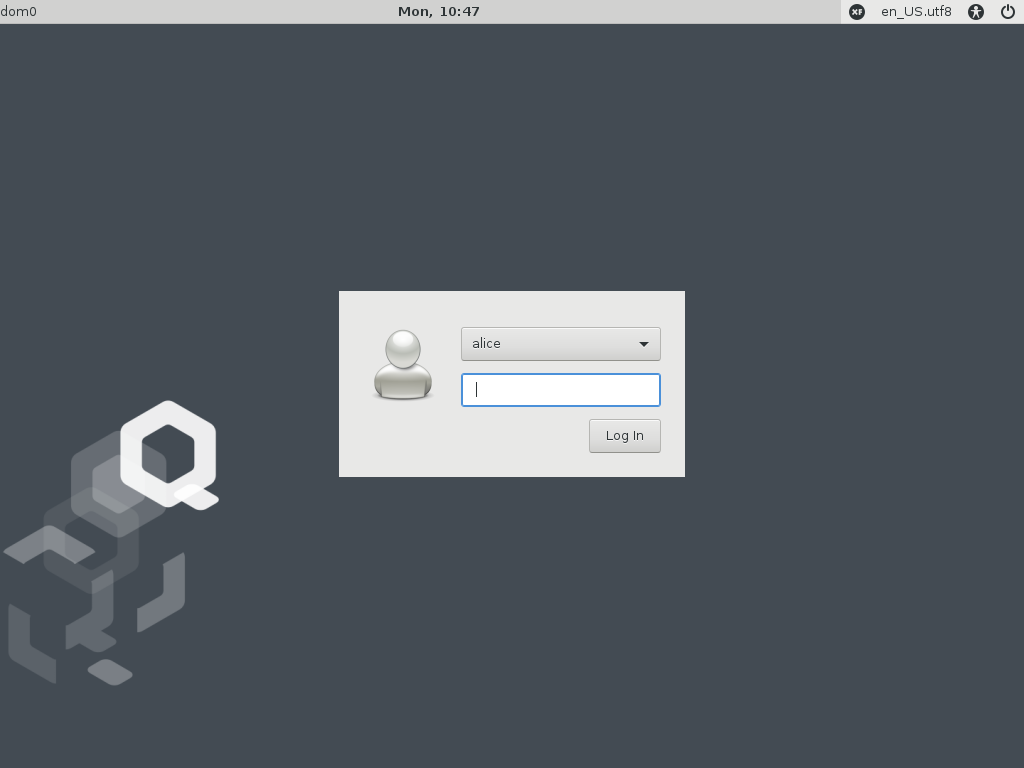
Congratulations, you are now ready to use Qubes OS !
Upgrading Qubes OS
For instructions on upgrading an existing installation, see Upgrade Guides.
Getting Help
-
We work very hard to make the documentation accurate, comprehensive useful and user friendly. We urge you to read it! It may very well contain the answers to your questions. (Since the documentation is a community effort, we’d also greatly appreciate your help in improving it!)
-
If you don’t find your answer in the documentation, it may be time to consult the mailing lists, as well as the many other available sources of help.
-
Please do not email individual developers (Marek, etc.) with questions about installation or other problems. Please send all such questions to the appropriate mailing list.